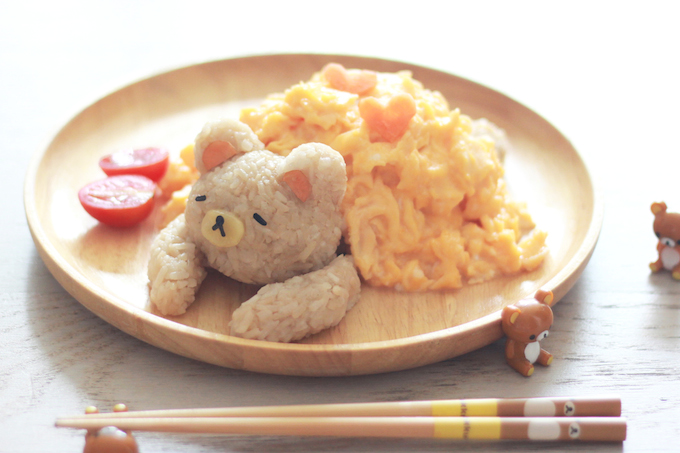
Most young kids will run after mom if she tries to leave them alone with a stranger. But according to a study, kids who haven’t bonded well with their mothers—psychologists call it “insecurely attached”—will rather stay behind with a security blanket. And in my case, it was always stuffed animals.
They say kids with secure attachments to their mothers were more or less likely to have a security blanket, because they simply don’t need a security blanket to fill their void. But what about the rest of us, the ones that need a security blanket to keep us safe, even after they become adults? We are the ones with chronicle anxiety around our loved ones, because whatever we do it never feels right. And if you are like me, you just keep creating a new blanket wherever you go, because if you don’t, you just never feel safe.
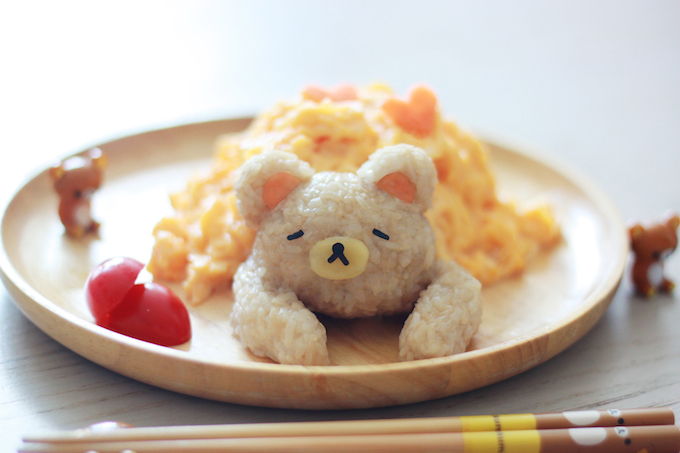 Rilakkuma has been my security blanket ever since I left Japan. I love everything about him; his tenderness, his softness, and his cuteness have always felt like home whenever I needed someone to cry on. I used to think I made a lot of Rilakkuma recipes simply because he was super-cute, but I was wrong. I did it because it made me feel safe.
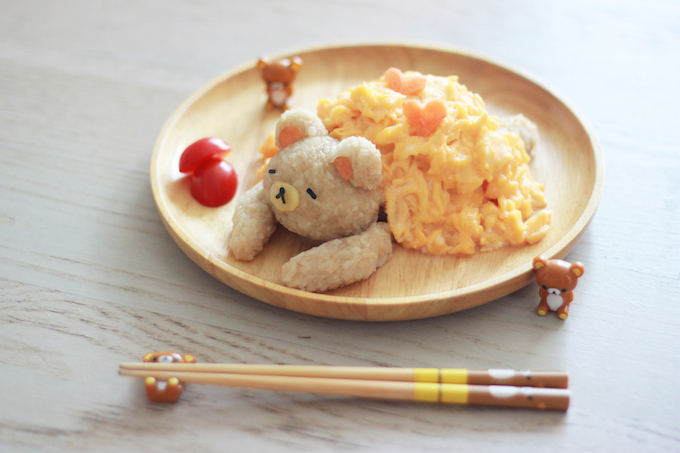 So, there you go, “Rilakkuma Scrambled Egg” with a security blanket. This time I educated myself a lot with Jamie Oliver’s food channel, and I learned how to make the softest, and fluffiest scrambled eggs to fulfill my mission of making the “blanket”. I think it went pretty well, and I’m quite satisfied with my “blanket”.
I don’t know what kind of attachment style you have, but if this recipe makes you smile, if it makes you forget your anxiety just for a millisecond, then I’m more than grateful.
- ・1 cup rice
- ・2 cups water (to cook rice)
- ・1 tbsp soy sauce
- ・1 sheet dried seaweed ("Nori" in Japanese)
- ・a slice of carrot
- ・a slice of cheese (I used gouda this time)
- ・3 eggs
- ・a pinch of salt
- ・1 tbsp butter
- ・Black pepper, to garnish
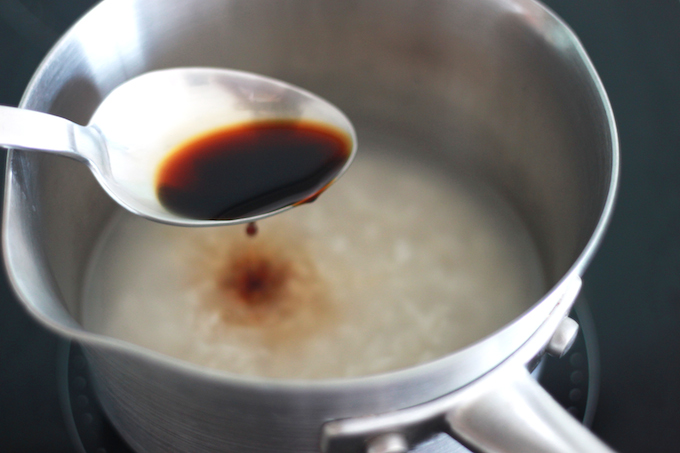
1: Cook rice in Rilakkuma brown.
Add a tablespoon of soy sauce before cooking. It will give you a perfect color for Rilakkuma’s brownness. I used a pot this time but you can use a steamer as instead.
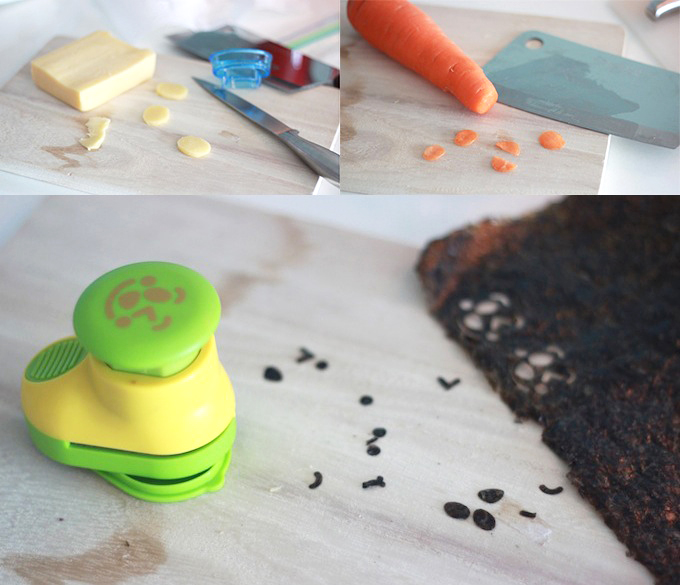
 2: Create the facial parts.
While waiting for the rice to be cooked, start working on making Rilakkuma’s face.
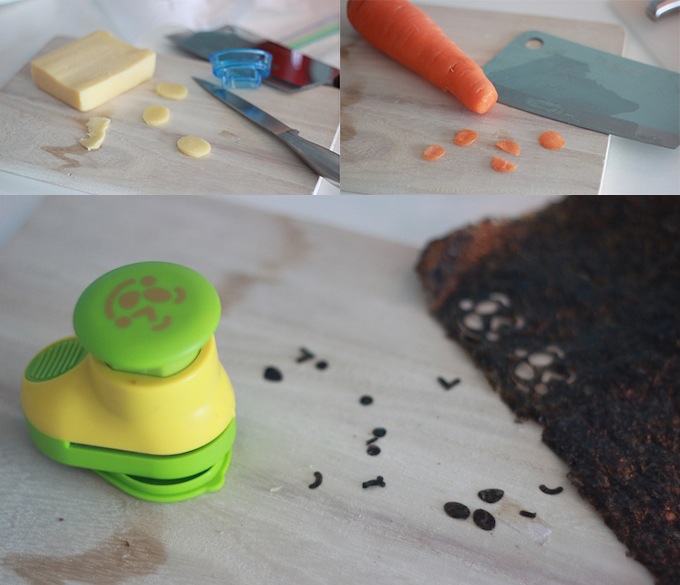
- Mouth: Cut a thin slice of cheese (I used gouda this time), then make a round shape with knife, or a cookie cutter. I used both!
- Ears: Cut a thin slice of carrot and make 2 semicircle shapes.
- Eyes and lips: I used a seaweed puncher but you can also use scissors.
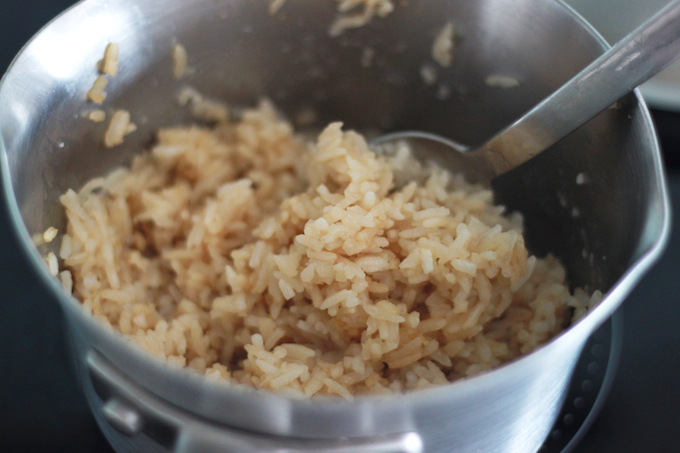
3: Check the color of cooked rice.
When the rice is cooked, it looks something like this. If you’d like it browner, add a bit more soy sauce and mix well.
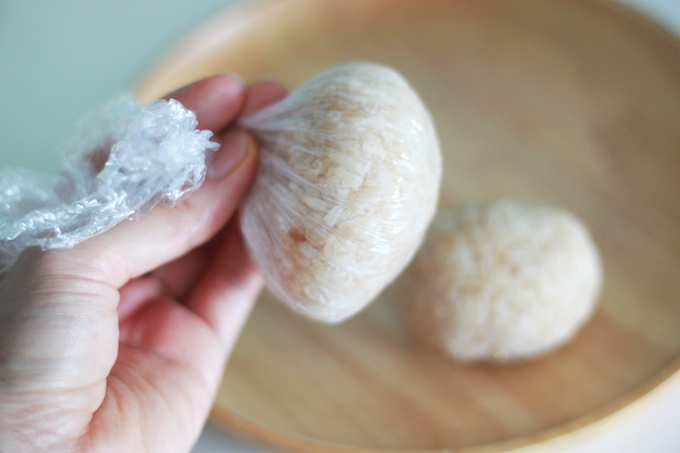
4: Use a plastic wrap to make rice balls.
Your rice balls will be so much tighter using a plastic wrap than using your own hands. Simple Asian trick!
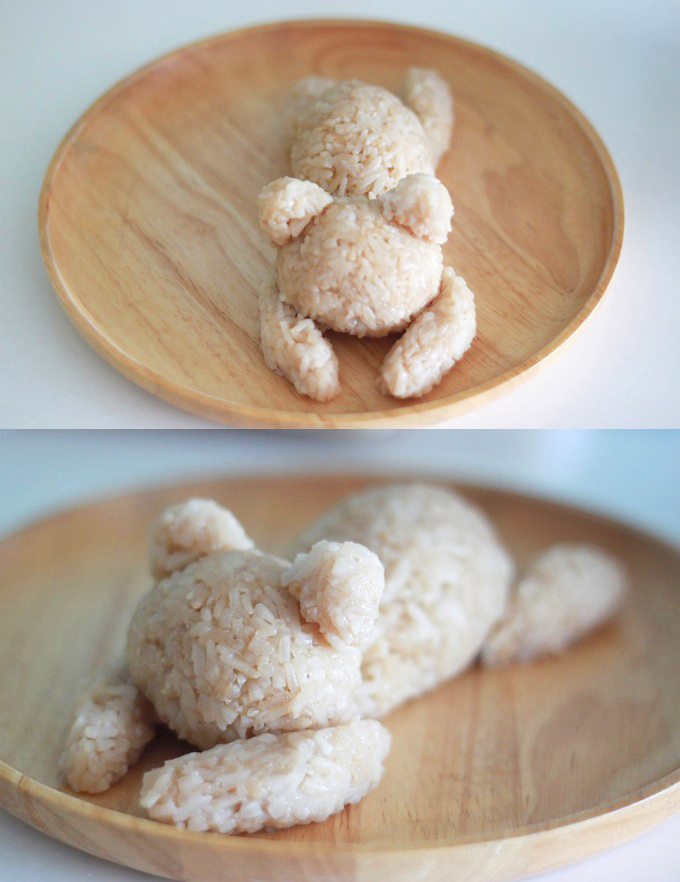
5: Build the Rlakkuma body parts.
Put the body, limbs, and ears altogether. It will then look something like this.
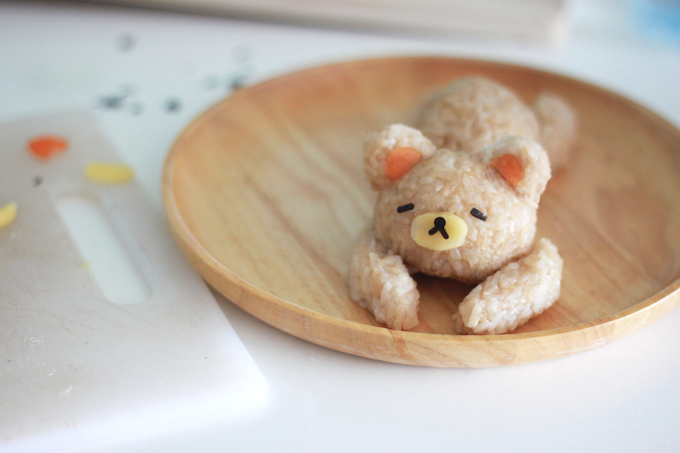
6: Add the facial parts on Rilakkuma’s face.
This is my favorite part! Grab the parts you made earlier and enjoy being a bear-artist for a while. I made a sleepy face but it’s up to you what kind of face you want to make for your Rilakkuma.
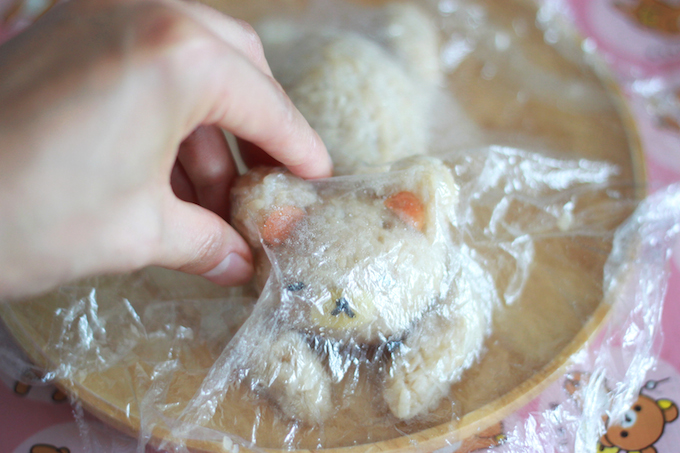
7: Retouch the shape with a plastic wrap.
I use a wrap when I retouch.
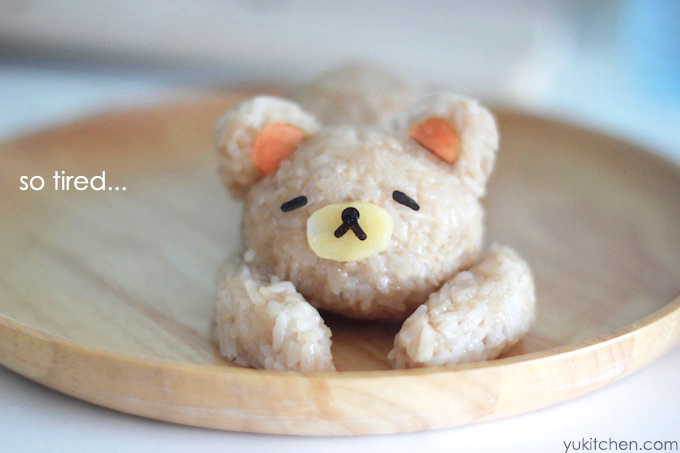
 Voilà! You’ve made a sleeping Rilakkuma. Poor tired little bear. Don’t worry, I’m about to give you a nice warm blanket soon. An egg blanket.
8: Time for the eggs.
Beat the eggs well and add a pinch of salt and mix again. I was deeply inspired by Jamie Oliver’s3 ways of making scrambled eggs (American version). So be sure to check this out!
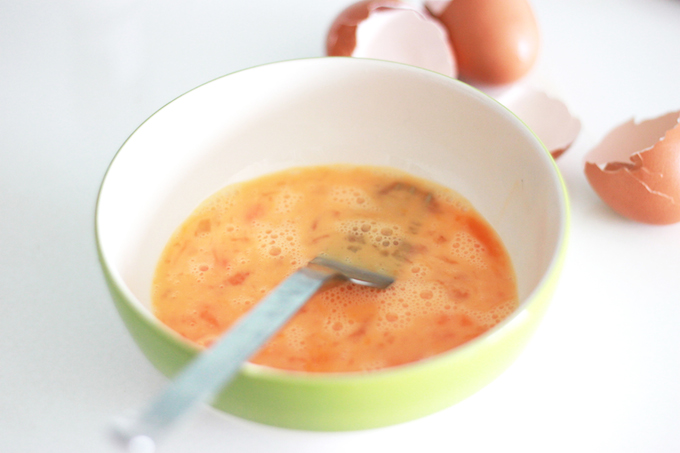
9: Low-heat the pan, WAIT, then cover it with butter and the eggs.
This is the most important part of making the best scrambled eggs. Warm the pan with the lowest heat, and wait till you feel the heat on the pan surface. Drop a tablespoon of butter and spread it on the pan. And again, WAIT till the butter becomes white-ish and bubbly.
I’m using a lot less butter than Jamie Oliver’s recipe. If you’re a butter person, go ahead and add more. I like just a hint of butter, it’s a personal preference.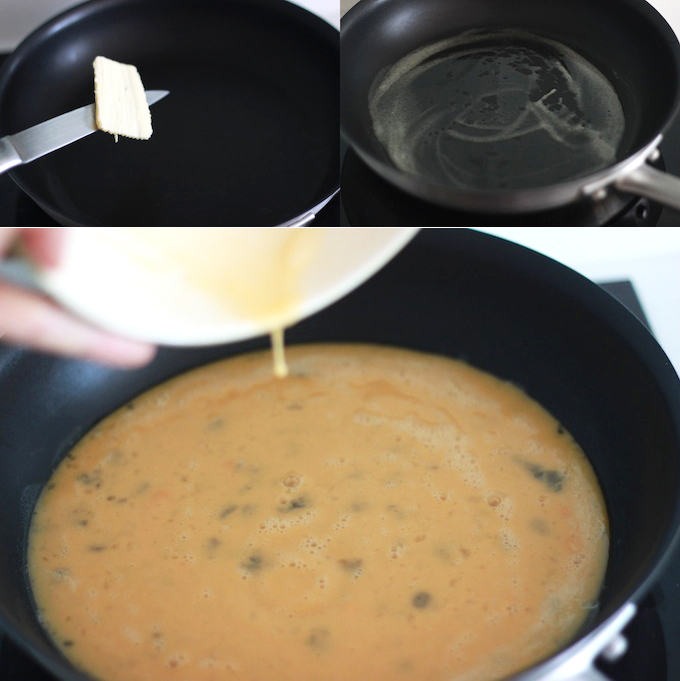
10: Wait till the eggs sit.
When the eggs are ready for your first attention, the edges will look something like this and that means you can finally start working.
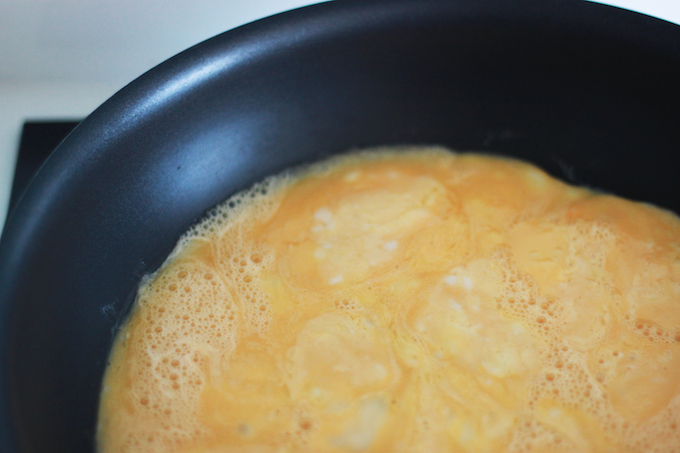
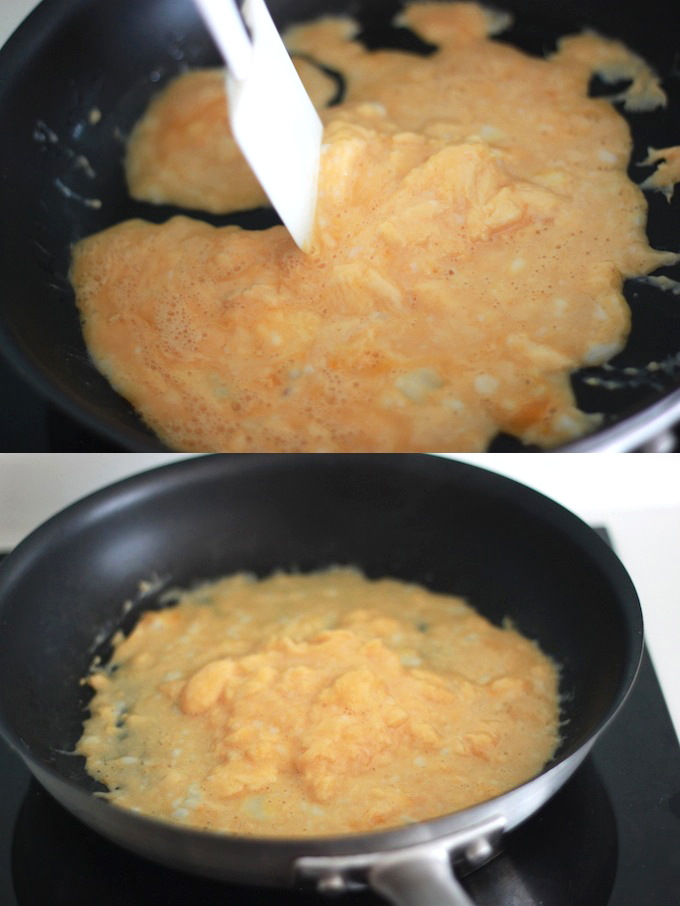
11: Slowly scrape the eggs to the center with a spatula.
You are basically making beautiful egg sheets. Gather the solidifying sheets all to the center, then spread the liquid parts out on to the pan and wait until it’s time for the next scraping. Then spread the rest on the pan again and wait till the next scraping. You never actually “scramble” your eggs.
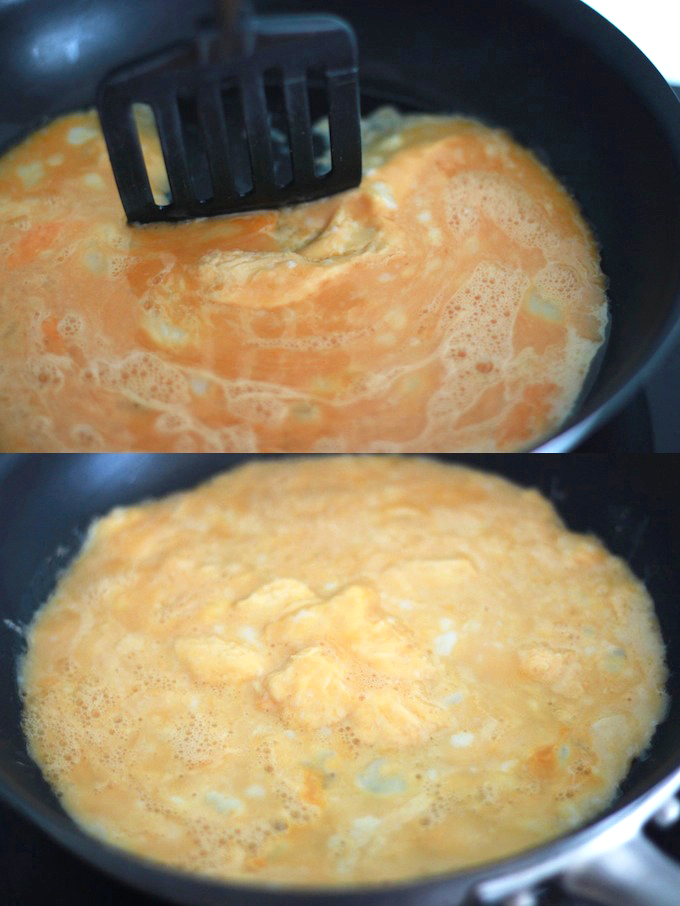
12: Keep doing the same until there’s no more left.
I did 4~5 sessions with the lowest heat.
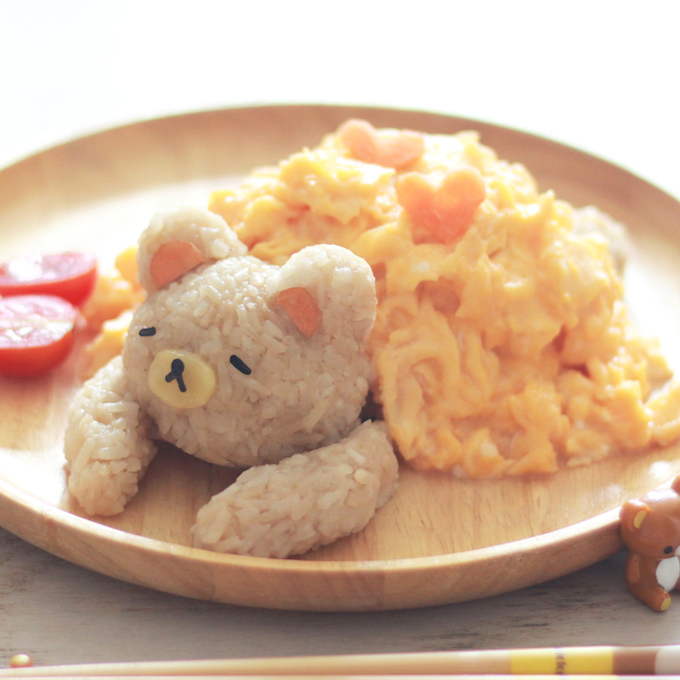
13: Pour the scrambled eggs on Rilakkuma, like a blanket.
Make sure he looks like he’s sleeping comfortably with his fluffy blanket. 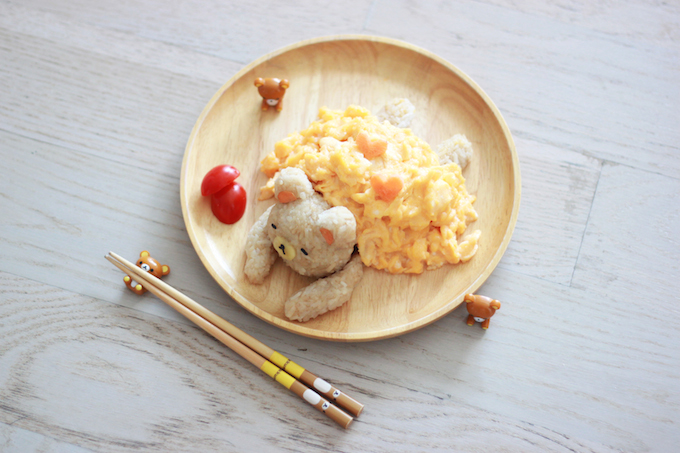 14: Garnish with black pepper, and you are done.
The perfect scrambled eggs feat. Rilakkuma, at your service.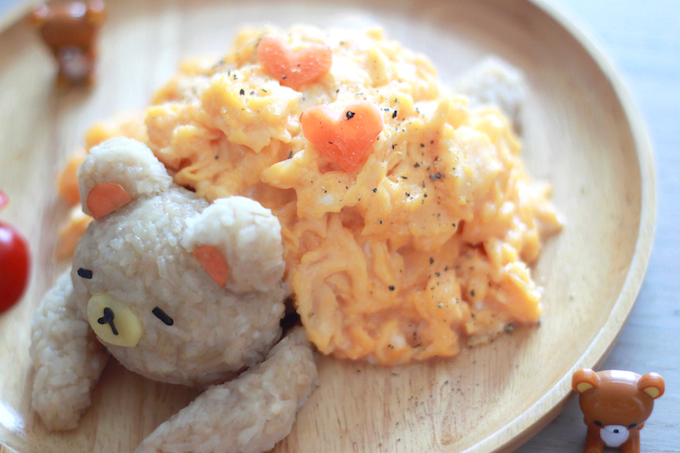 I added heart shaped carrots just for fun.
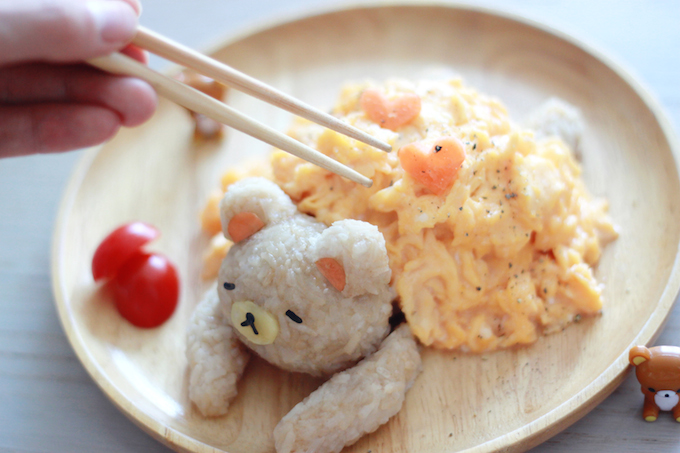
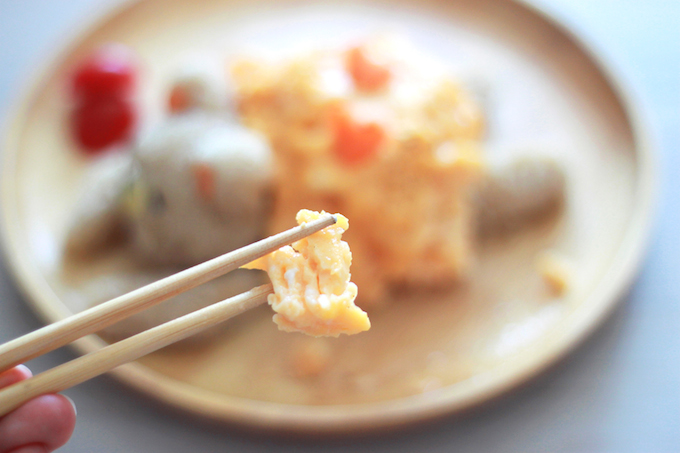 There you go, the perfectly fluffy scrambled eggs on a Rilakkuma… I hope he feels safe in it.
Thanks for reading.
xx
-Yuki
Wooow, sooo cute, Yuki-chan! You’re so creative 🙂
Thank you Hani!!
I never would have thought to put scrambled eggs with rice, nice idea. I love Jamie Oliver too but his recipes are so unhealthy, I always feel ill after eating at his restaurant >_<;. I don't know if I could eat this Rilakkuma…he looks too cute, I feel sad disturbing his sleep.
I only watch Jamie’s basic western cooking videos 😛 And yes!! It’s always sad to see my food art being eaten by me… Tough life!
again so cute 🙂 this will be my next project for breakfast, thanks
Hi there again <3 It's not too difficult. Good luck in the kitchen, Christine!
This is too cute! I would love to try this recipe out! I have a question: Are you using regular rice or sticky rice?
Thank you! I usually use regular rice, but for this photoshoot I used both, just to make it look photograph better. 😉
This is too cute. Great for children who don’t want to eat the healthy stuff. Well done Yuki!
Thank you so much Henri! I’d really like to see it on a kid’s book someday 😉