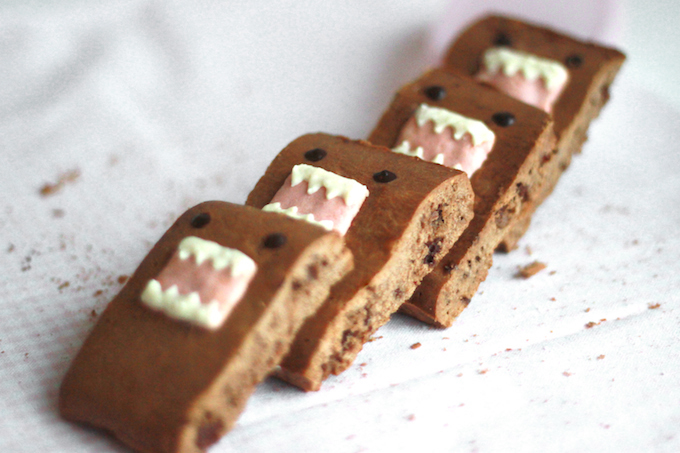
Domo kun is underestimated in Japan. You see him everywhere outside of Japan but not so much in his homeland. One of the many reasons why Japanese should travel more is that they can find out how much our culture is affecting a lot of people outside of our country. I was shocked to see how many Americans were wearing Domo kun T-shirts in public and they were actually proud of it. I saw so many people wearing Domo kun backpacks and handbags everywhere in South East Asia as well.
At first, I didn’t understand all the fuss about Domu kun. The NHK cartoon which no one really watches.
But shortly after I realized that they don’t really care about NHK like myself. They just only care about a silly brown creature who doesn’t even say a word but “domo”. His inexplicable cuteness comes in handy for the geeks to easily fall in love with him, and perhaps I’m just one of them.
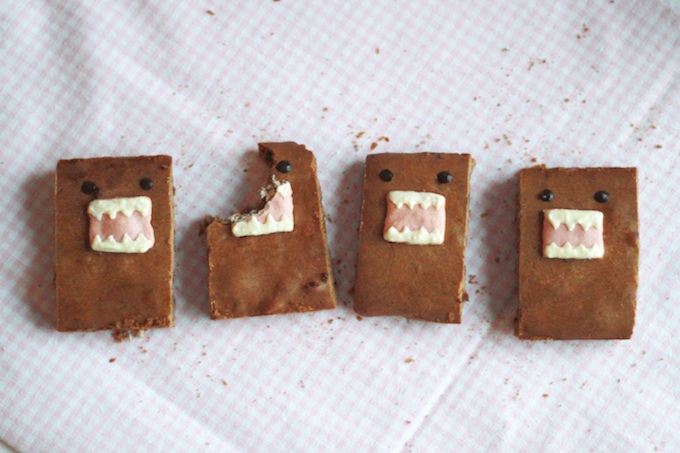
I always knew that I want to make Domo kun Brownies. In fact, I told some of my friends that I was baking Domo kun Brownies before creating this recipe. But shortly after I realized that I need to bake twice because his mouth is made of cookies. If you bake the dough twice, I figured that’s actually biscotti. And it also looked more like biscotti than brownies.
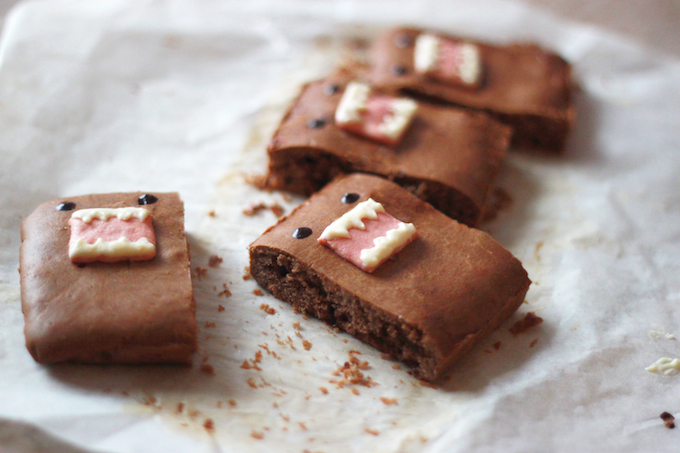
It was challenging for me because his mouth is pure red. If I use the evil red food dye, I could easily make his mouth red. But this is Yukitchen, where we teach the importance of whole food awesomeness.
Instead of using artificial food coloring, I used my original food dye made out of beetroot. I write about here.
- ・1/2 cup (110g) Unsalted Butter
- ・1/2 cup (96g) Brown sugar
- ・3 eggs
- ・1 teaspoon Vanilla extract
- ・1/2 cup (64g) unsweetened cocoa powder
- ・2 cups (274g) Yuki's Gluten-Free Flour
- ・1 teaspoon salt
- ・1 teaspoon baking powder
- ・1/2 cup (76g) your favorite chopped chocolate (I used swiss milk chocolate)
- ・20g Dark chocolate
- ・20g White chocolate
- ・1 egg
- ・1/2 cup (70g) Gluten Free flour
- ・1/2 teaspoon Baking powder
- ・1/3 cup (73g) Coconut sugar
- ・50g Unsalted butter
- ・A pinch of salt
- ・4 tbsp Natural Red Food Coloring
1: Make the cookie dough for Domo kun’s mouth.
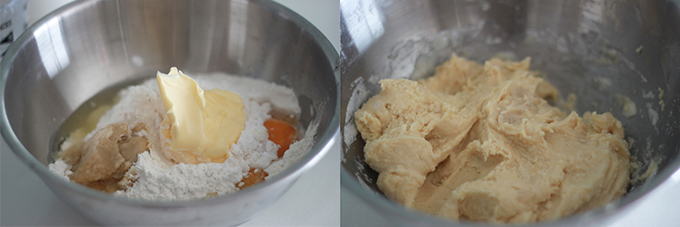
Preheat the oven to 175 C/ 350F. Put flour, butter, coconut sugar, salt, eggs, and baking powder in a bowl and mix well until the dough gets firm.
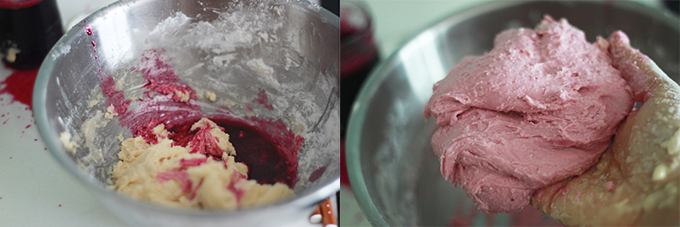
2: Add the beetroot food dye.
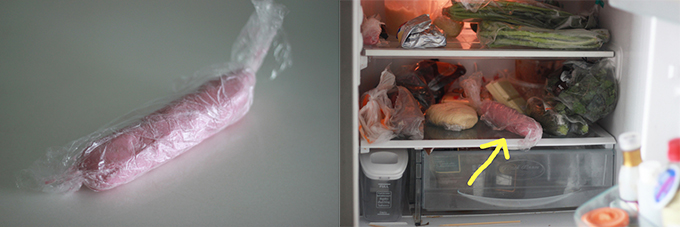
It will turn a nice pink color just like in the picture.
3: Let the dough rest in the fridge.
Make the pink dough into a long stick, and let it rest in a fridge for more than 30 minutes. This will make it easier to harden the dough when you cut in slices for Domo’s mouth later.
4: Time to make the biscotti.
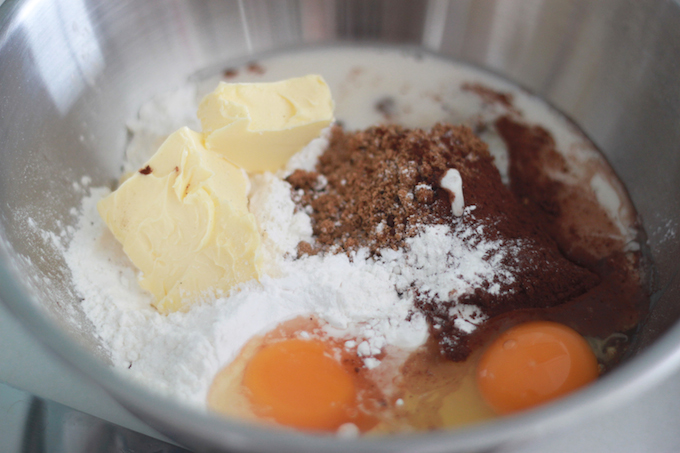
While your cookie is resting in a fridge, it’s time to start working on Domo kun himself! Put the flour, brown sugar, salt, butter, eggs, cocoa powder, and baking powder in a bowl. And mix well.
5: Add the chocolate.
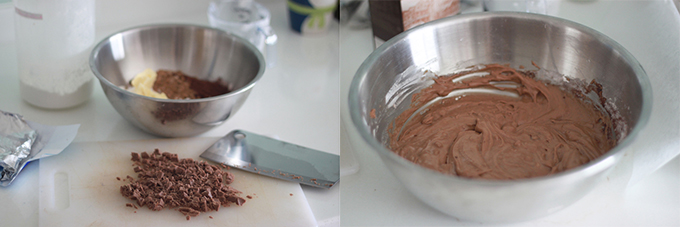
Chop the chocolate into pieces and mix with the biscotti dough.
6: Pour the biscotti dough into a square container.
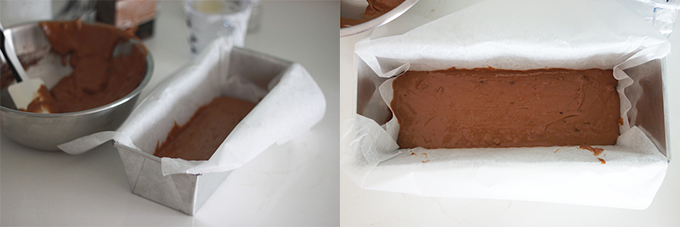
The thickness of the biscotti should be around 1.5cm (1 inch). Make sure the surface is all flat and even! You don’t want a bumpy Domo kun. You want a flat Domo kun. Put the container in an oven (175C/350F), and bake for 25~ 30 minutes.
7: Make Domo kun’s eyes and teeth. While the biscotti is in the oven, you can work on domo kun’s face. Chop the dark chocolate and white chocolate into pieces.
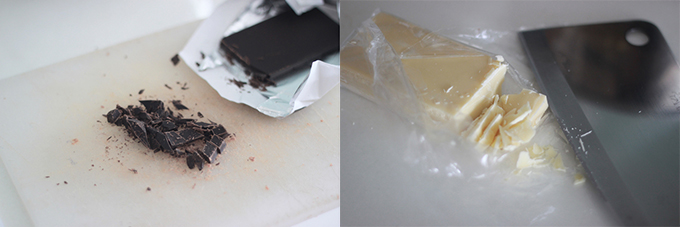
8: Melt 2 types of chocolate for drawing Domo’s face.
Set a half-fill saucepan with water and bring to a simmer. Place 2 cups with each chocolate on top, making sure it doesn’t touch the water. Stir with a metal spoon until melted. Avoid wooden or plastic spoons – these retain moisture that makes chocolate seize (harden).
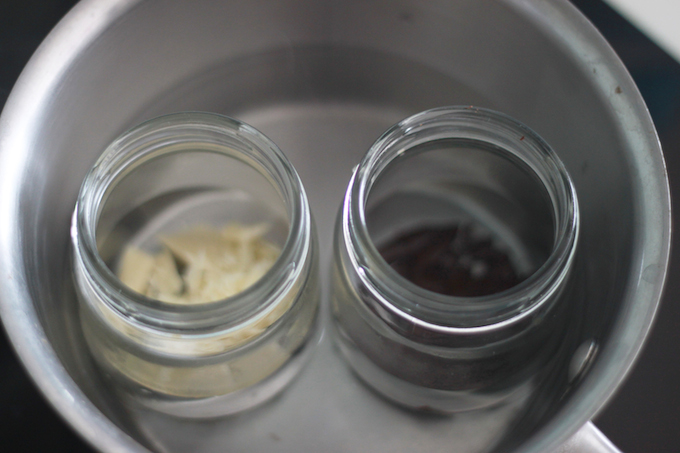
9: Cut the cookie.
While the chocolate is melting, grab the cookie dough from the fridge, and shape it into squares. This will become Domo’s mouth. The dough should be hard enough to shape and cut thin slices, just like in this picture.
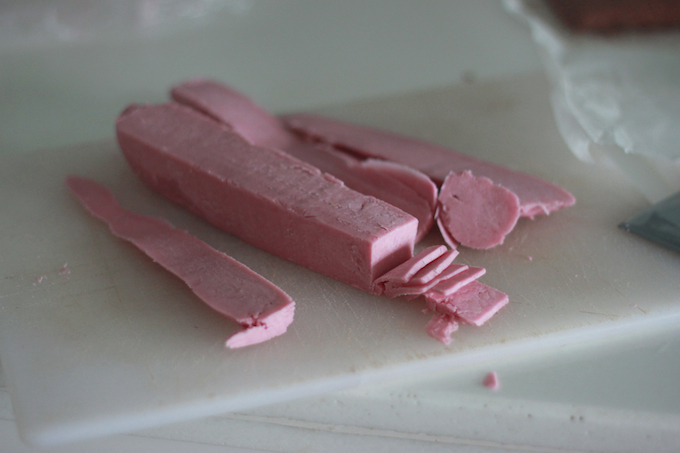
10: Grab the biscotti out of the oven.
After 25~30 min, the biscotti should look like this.
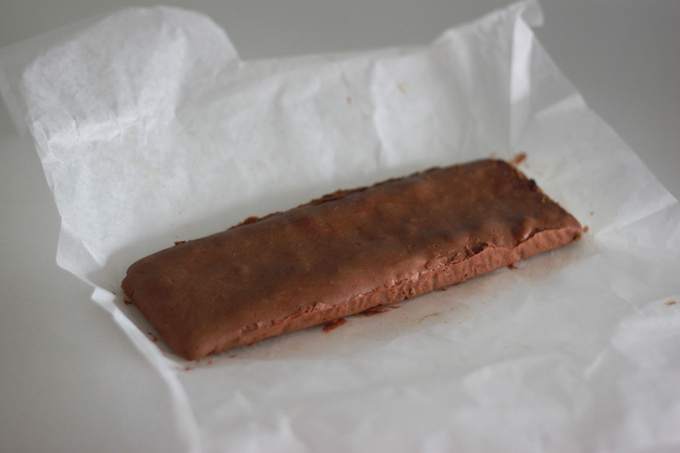
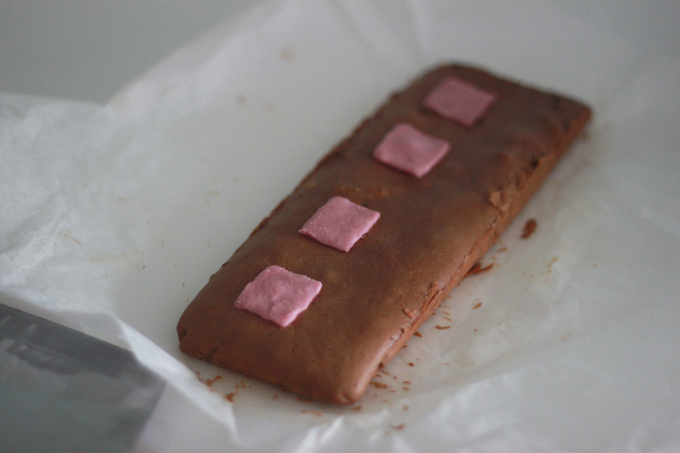
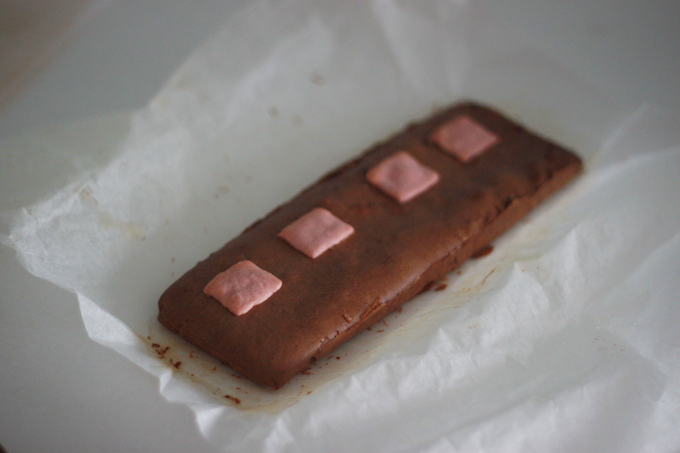
11: Add the pink cookie dough on the biscotti.
Quickly place 4 sliced cookies on the biscotti like this. Make sure each slice is not too close or too far apart. Then put it back in the oven again for another 7~8 minutes. Do not over-bake at this point. Since the pink cookie slices are so thin, it gets brown easily when you bake too long.
13: Decorate the Domo kun faces.
Oh, this was fun! I used a tip on my chopstick to paint for his eyes, and a toothpick for his teeth. Using thin sticks helps you to work on the very fine details.
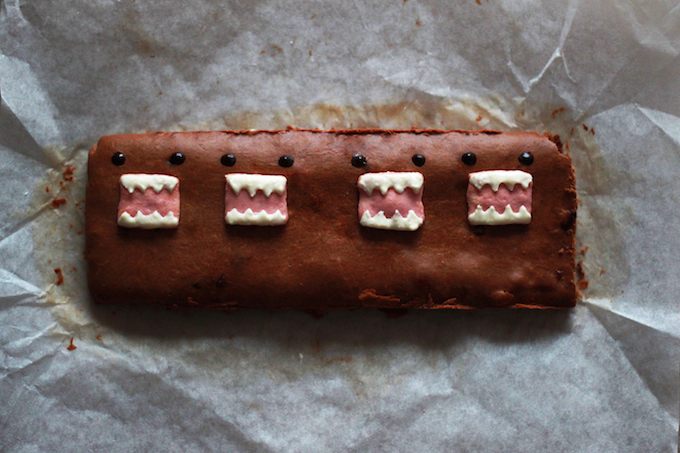
14: Cut the Domo kun into 4 pieces.
It’s time to separate the Domo kuns! Make sure you use a good sharp knife 😉
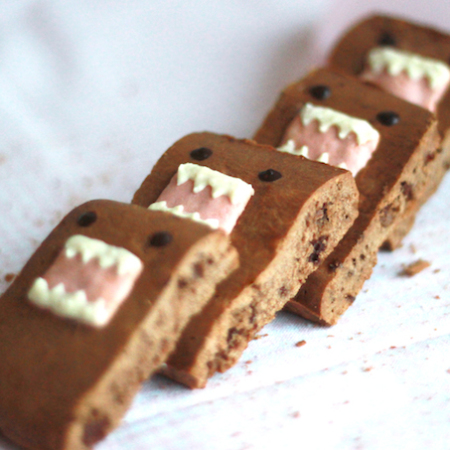
You can see the delicious chocolate chips on the side of the Domo kun.
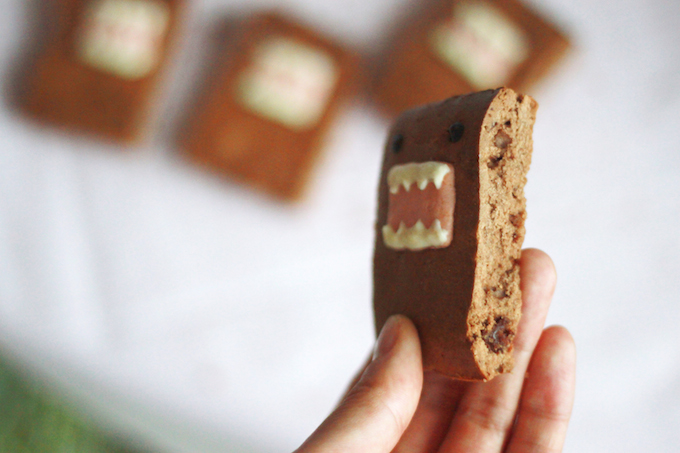
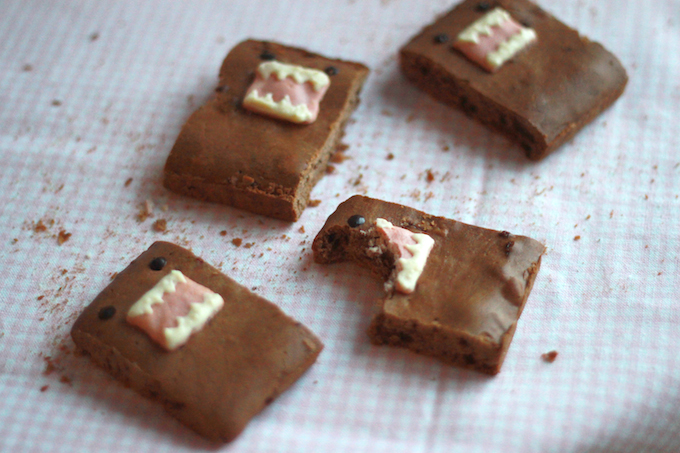
There you go, the cute delicious healthy Domo kun Biscotti. I hope you like it!
Thanks for reading.
xoxo
-Yuki
Oh, what a nice Domo kun cookies – I will make them for my niece, for sure 🙂
Hi Jasmin! Thank you! Please do! Kids love Domo kun!