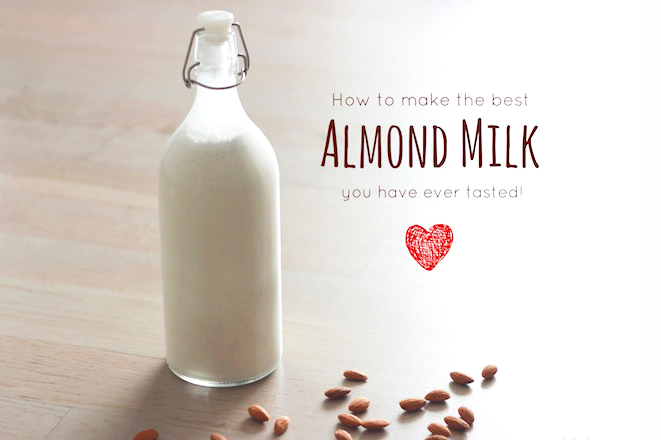
 Ever since I cut milk, I’ve been welcoming non-dairy milk in my diet. I started off with soy milk because it was easy to find in Japan. It was good until I did a little bit more research which shows almond milk has slightly more benefits than soy milk. I also discovered Japan imports a lot of soy from the USA, which means most soy milk in Japan probably contains some GMO. So I decided to switch to almond milk. But did you know that no one in Japan knows what almond milk is? Even I didn’t know it existed until the day I went grocery shopping in LA. Since no one sells it here, I kinda had to make it myself.
I’ve been making homemade almond milk a bunch of times, and my favorite so far is vanilla flavored 🙂 I recommend using vanilla beans but if you don’t have it, vanilla extract can do the trick as well.
I was shopping in Bangkok the other day and found this interesting thing: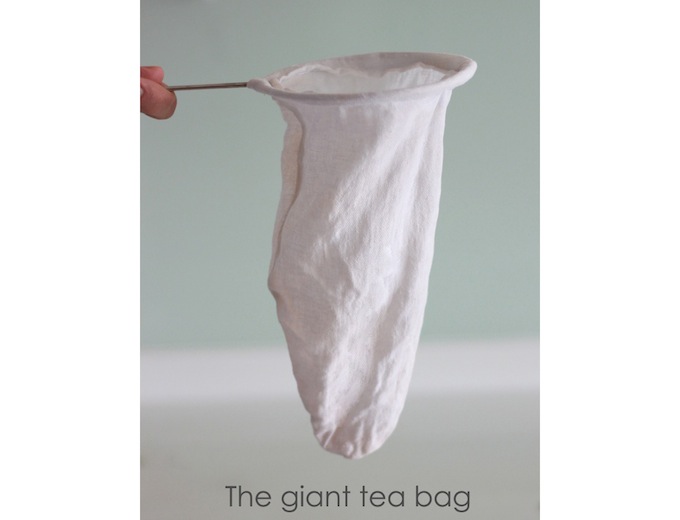 This is a giant tea bag Thai “tea makers” use on a street of Thailand, where they sell tasty fresh tea for just 15 baht. I never thought I would own myself, but I figured this might work great for making almond milk. And it did!! This was such a smart buy for me and cost only 50 baht. SCORE! If you can’t find this at the store, try using cheese cloth. (In Thailand, there is no such thing as cheese cloth. Sad!)
- ・1 cup raw almonds, soaked in water
- ・3.5 cups filtered water
- ・A pinch of fine grain sea salt, to enhance the flavor
- ・1 pitted Medjool date, to taste *optional
- ・1 whole vanilla bean, chopped, or ½-1 tsp vanilla extract *optional

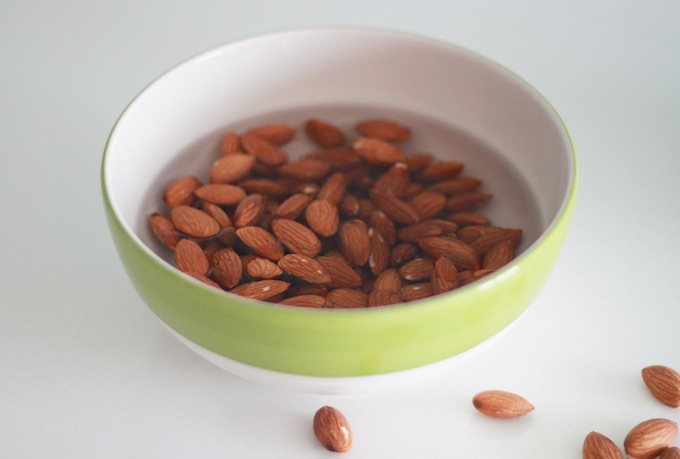
1: Soak almonds overnight. Place almonds in a bowl and cover with water. It’s preferred to soak them overnight (for 8-12 hours) in the water.
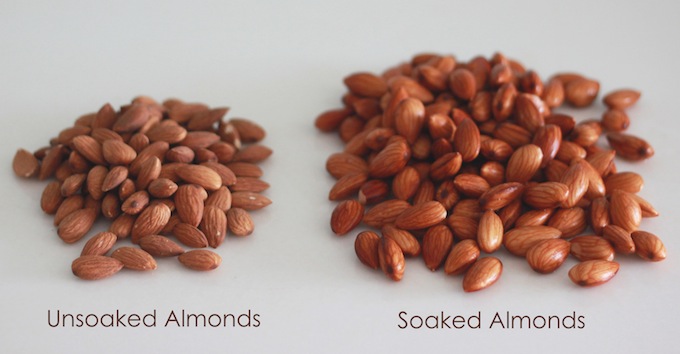
 Look what a difference soaking process can make! Plumped up juicy nuts are ready to be cooked!
  2: Blend them all! Rinse and drain the almonds, then put them all in a blender with fresh water. Blend on highest speed for 3~4 minutes or so.
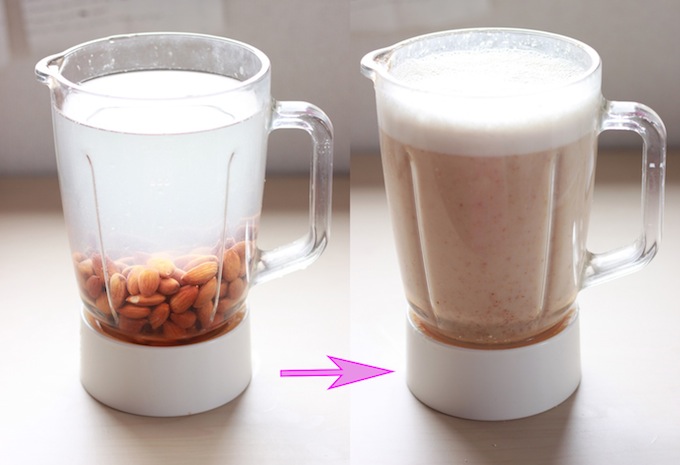
3: Pour it in the tea bag. Place the tea bag over a large bowl and slowly pour the almond milk mixture into the bag.
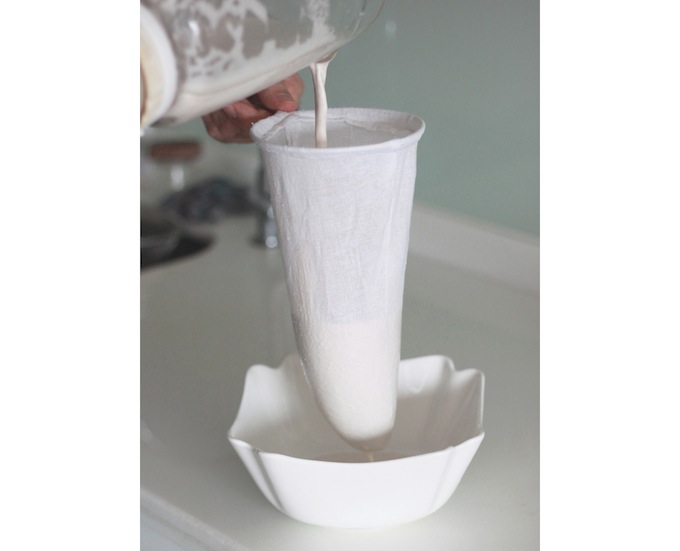
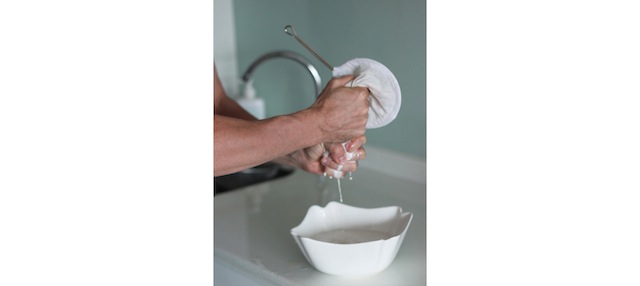
4: Squeeze it out!! Gently squeeze the bottom of the bag to release the milk. This took me about 2~3minutes to get all the milk out.

*Note: If you have someone who obviously has more upper body strengths than you do, asking for help won’t hurt 😉 I usually ask my boxer friend to squeeze the last bit of almond milk, just to make things easier. See the muscular help below:
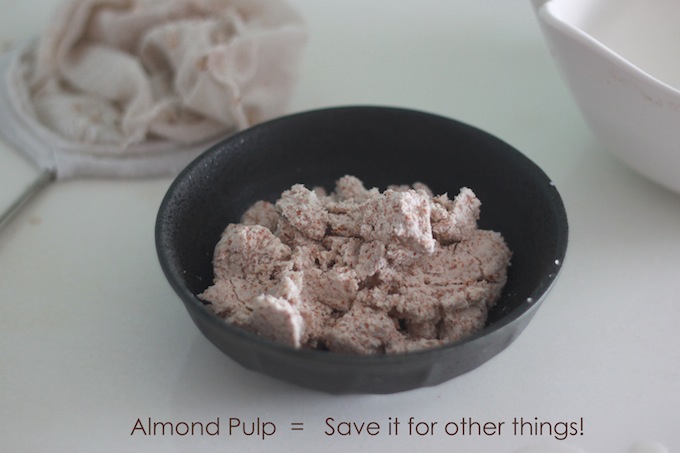
*Note2: You can use the almond pulp for other things later. I usually use it for baking brownies and cookies or adding it to cereals or granolas. It’s still very yummy and nutritious 🙂
5: Prepare the vanilla bean and date. Rince out blender and put vanilla bean and a chopped date into it.

6: Blend it again! Pour the milk back in a blander with a pinch of sea salt. Blend it again on low to combine all the flavors.
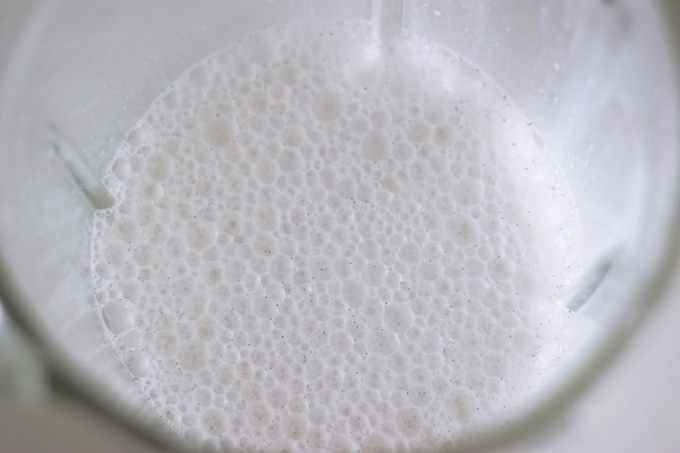 Can you see these tiny vanilla? I’m usually squeaking alone in my kitchen when I see these beautiful sparkles in my almond-milk-to-be. Cooking from scratch is truly a wonderful thing!
7: Put in a jar. Pour into a glass jar to store in the fridge for up to 3-5 days. Shake jar very well before using as the mixture separates when sitting.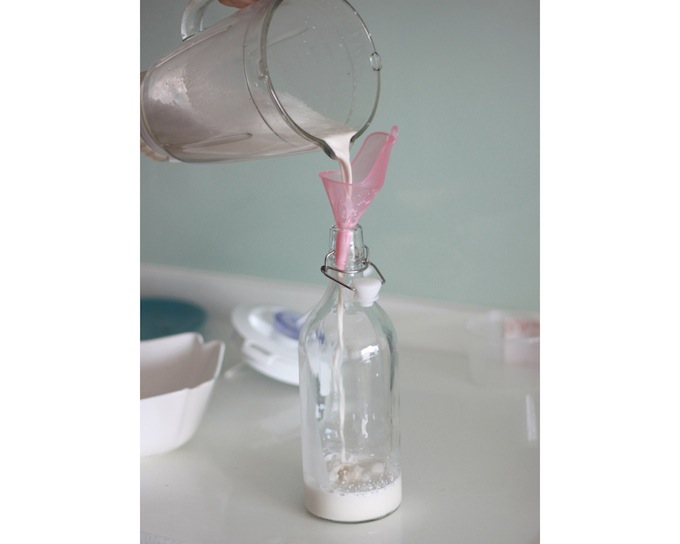 This milk is so great for cereals and my morning coffee. I also use this for a lot of my cooking such as gluten-free pancakes, creamy curry, and potato soup. Unlike the store-bought milk, it does not last forever, so make sure you finish it before it goes bad! The taste of fresh vanilla beans with a hint of date is just to die for…! I absolutely love my home made almond milk!
xx
-Yuki
Yuki, this looks great. I’ll have to try it!
Hello, Victoria! Thank you so much~! Try, and let me know how it goes. xx